原網葉鏈接地址:
http://fursuit.tanidareal.com/savoy/en/02fmakebodya.htm
1. The basic pattern
1、基本紙樣
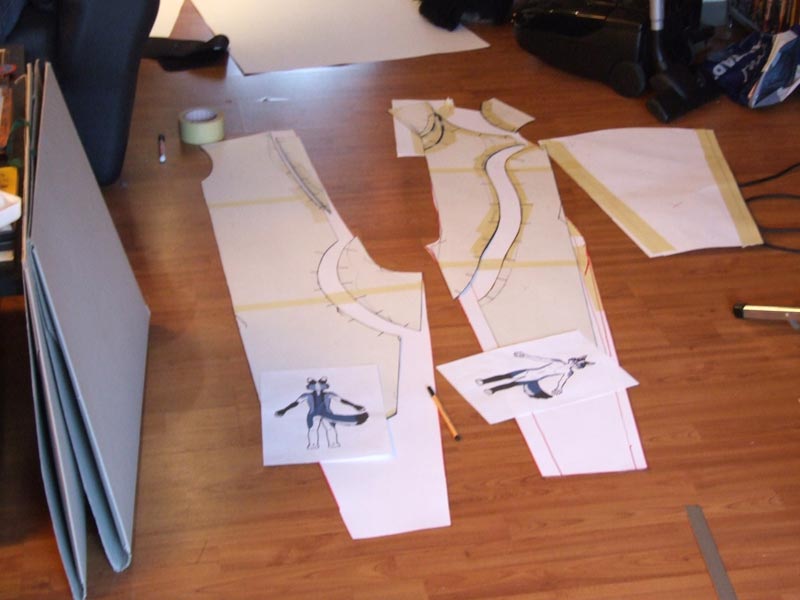
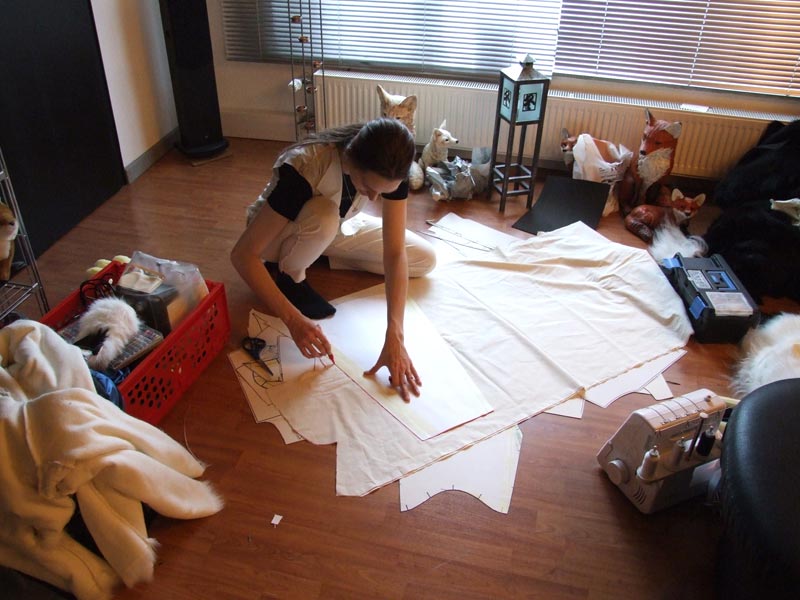
For the body I first did a character sheet of Savoy from both sides. Then I got large pieces of paper, and some cheap cloth (from IKEA) for creating the pattern.
首先我做了一個Savoy正反兩面的圖樣。然後我準備了幾大張紙和一些便宜的布(來自IKEA)來完成紙樣。
Thank you to Furvan and Tioh, I would not have been able to make the body without your help.
感謝Furvan和Tioh,沒有你們的幫助我就做不出身體了!
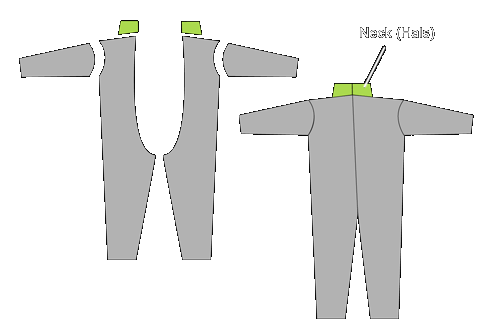
1、Drawing the main pattern on the paper. Simple unicolored body pattern consists of 4 main parts (front left, front right, back left, back right) + arms
在紙上畫出大體形狀。簡單的未經上色的身體樣本包括四大部分(前左、前右、後左、後右)和胳膊
Transfer the pattern to the cheap cloth and make a first test suit. If there are corrections - mark them on the test suit while wearing, unsew it again and transfer the pattern to the paper again. Go on like that until you have a pattern that fits you.
把紙樣轉換到布上來製作第一套測試服裝。如果需要改進,就再穿測試裝時將改進的地方標在測試裝上,然後重新縫一遍並將改動也轉移到紙樣上。不斷改進直到合身爲止。
Before going on with the cutting the basic pattern into several parts (multicolored), make a copy of the paper pattern! You can use it again next time!
在繼續將紙樣分爲不同顔色的部分時,請複製一份紙樣,以便下次再用。
2. Multi colored fur (markings)
2、多種顔色的毛毛布(製作過程)
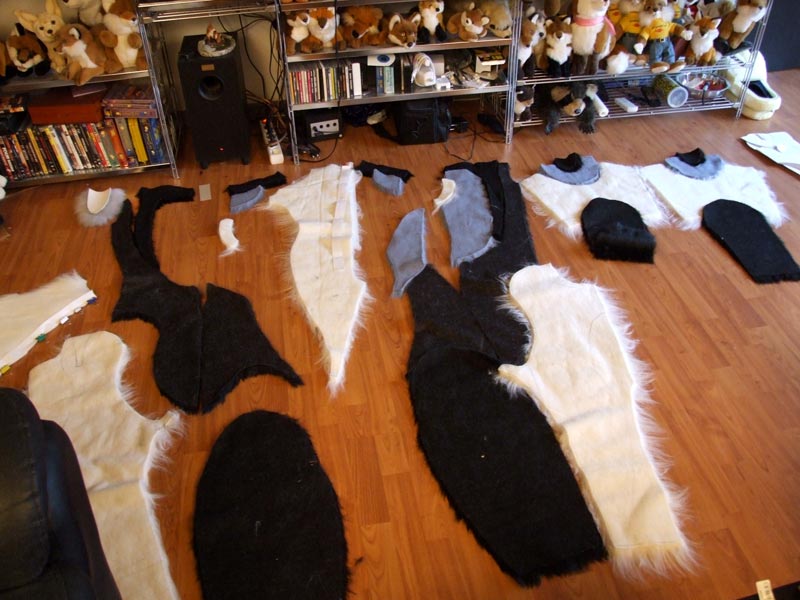
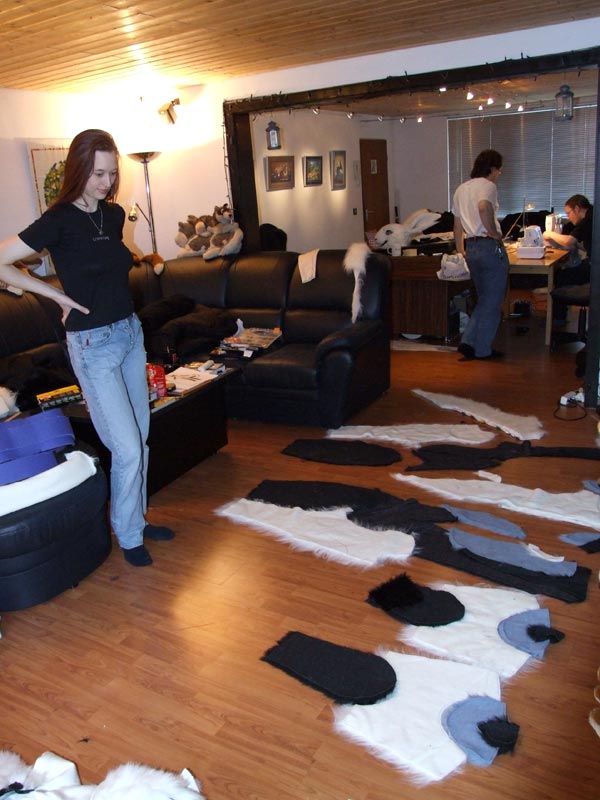
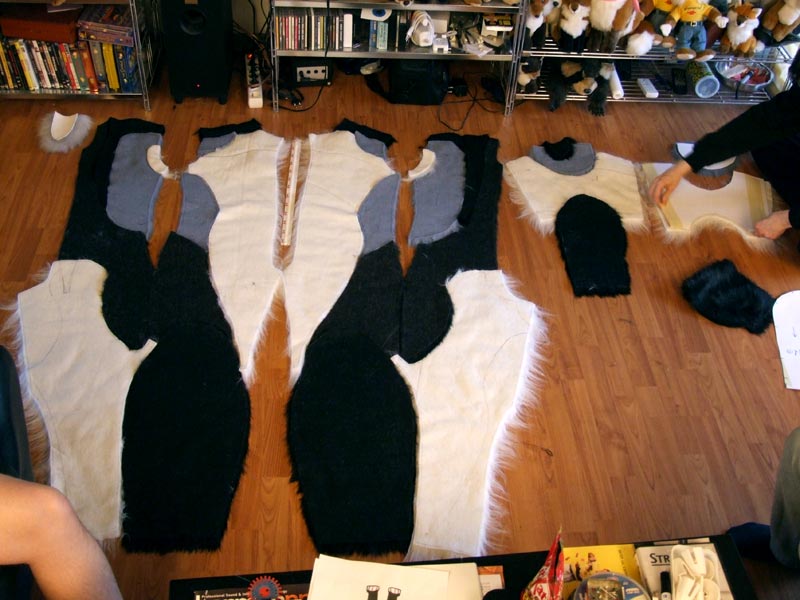
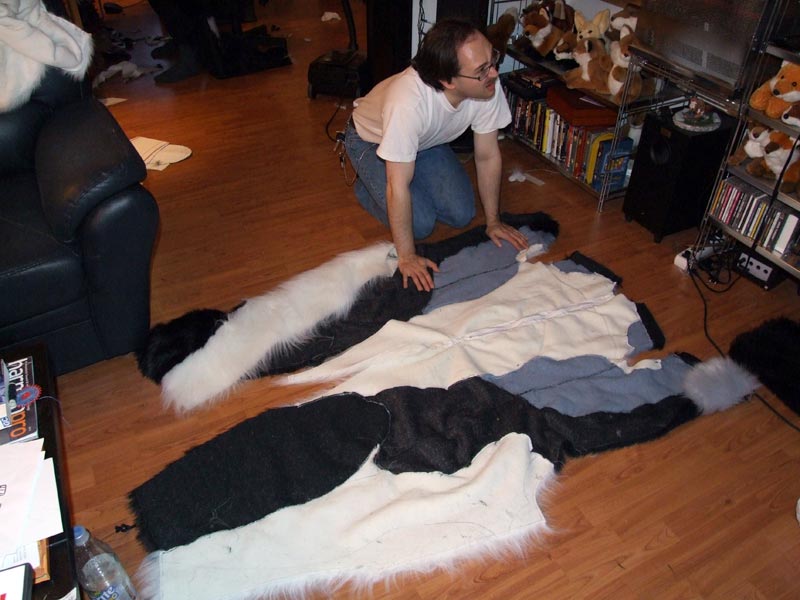
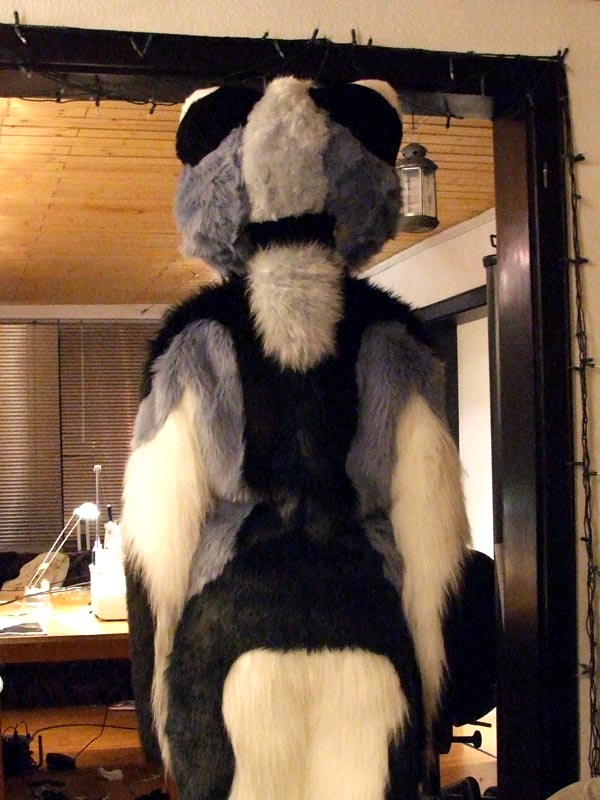
Savoy has quite a complicated fur pattern, which means - many many single pieces of fur! I did not count them, but there were more than 40 pieces.
Savoy有一套複雜的制樣,這就意味著,有很多很多毛毛布片!我沒數,但至少有40片。
NOTE! Pay attention to the running direction of the fur before cutting!
注意:裁剪前注意毛的走向!
Either draw the pattern lines directly onto the paper pattern, or first mark it on the test suit. Then write the names on the pattern parts (right arm, front leg,...), cut the paper pattern into pieces, and cut out the fur using them.
在紙樣上直接劃綫或畫在測試裝上。然後將個部分的名字寫在紙樣的各部分上(右胳膊、前腿……),將紙樣剪成小片,然後用它們裁剪毛毛布。
The zipper is located in the middle of the belly on the front side.
拉鏈位于前邊肚子的中央。
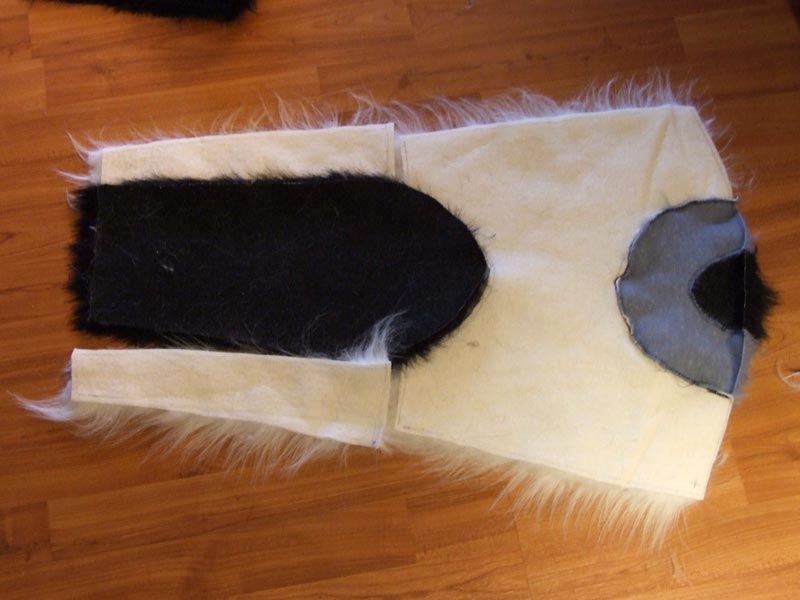
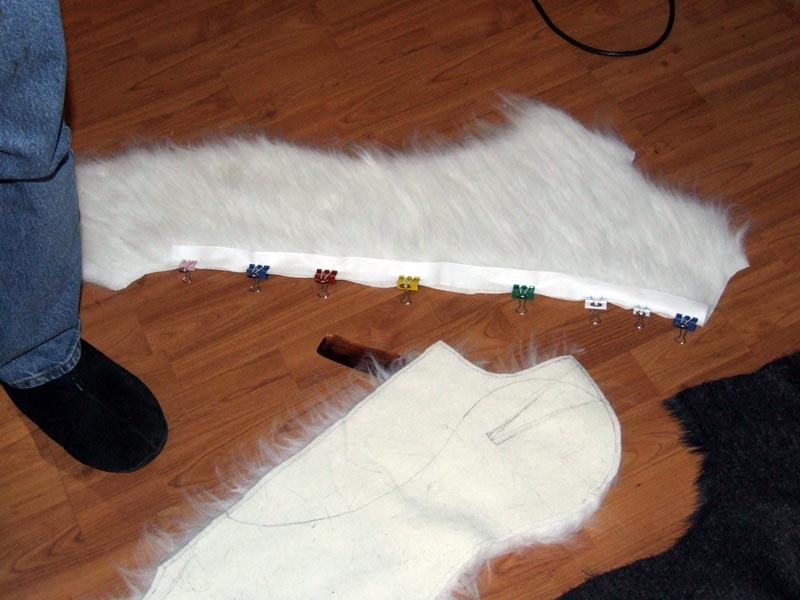
Some parts can be sewed by machine, the tiny parts by hand. Sew the parts together piece by piece. Keep them together so that you don't get confused.
有些部分可以用機器縫,細小的部分要用手工縫。把這些部分一片片地縫到一起。請將它們放到一起以防止混淆了。
3. The neck
3、頸部
If you did not attach longer pieces of fur to the head which will cover your neck, you will need to add a neck to your body suit. Otherwise you will see the hole.
如果你不再頭部下邊添加遮住脖子的毛毛布,你需要在身體部分上添加脖子。否則……不用翻譯這句話也知道會怎麽樣吧?(否則你會看到洞的。)
I close the attached neck part at the front (under my chin) with some press studs.
我在前邊(下巴下面)幾了一些紐扣。
4. The Tail
4、尾巴
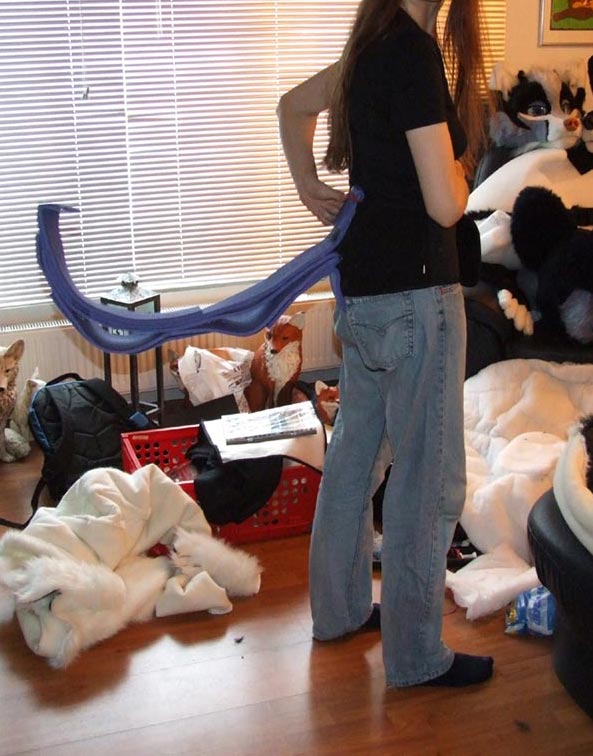
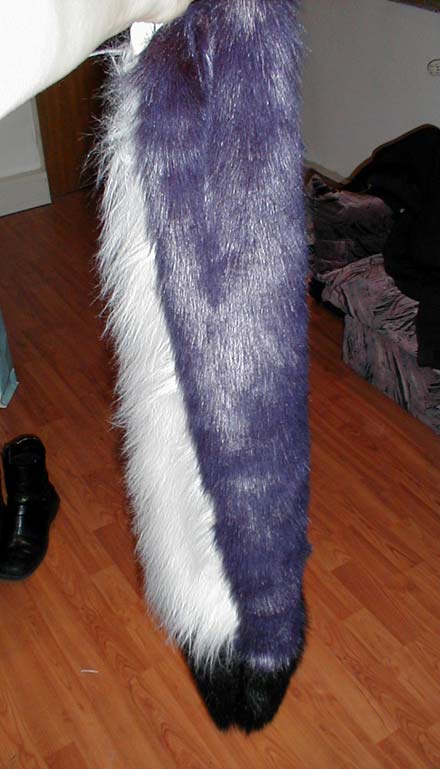
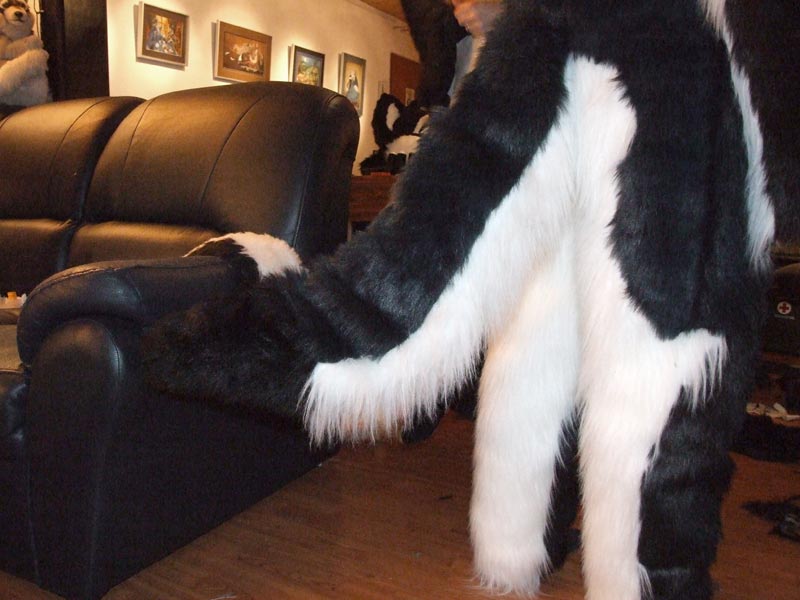
The tail construction is made of pieces of a camping mat glued together, and attached to a kidney belt. The longer the tail is, the less bouncy it will be (because of the weight).
尾巴骨架是用旅行帽粘在一起做成的,並接在一條腰帶上。。尾巴越長彎曲程度越低(因爲重量)。
For filling I used some light fill material you get at creative stores. The tail itself is attached to the body, but you can take out the inner construction.
我從創意商店買了一些輕質材料作爲填充物。尾巴是連在身體上的,但你可以取出内部結構(翻譯的優點暈頭了,這句話到底什麽意思?)。
You can also make the inside of the tail with foam to get a more stable, bouncy form.
I haven't tried this yet.
一也可以嘗試用泡棉做一條更彎曲牢固的尾巴(我沒試過)。
5. The Paws
5、爪子
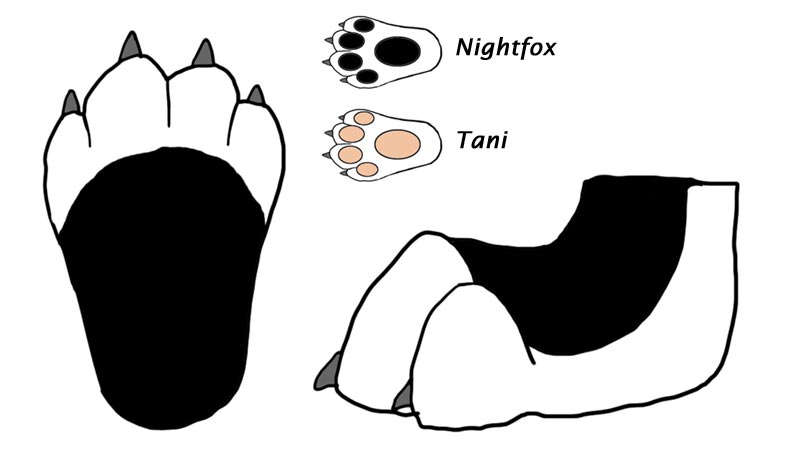
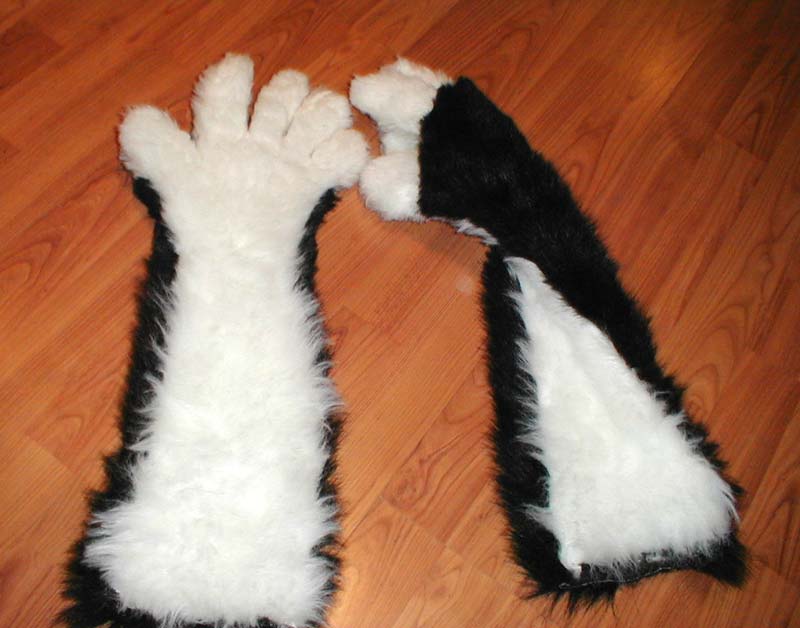
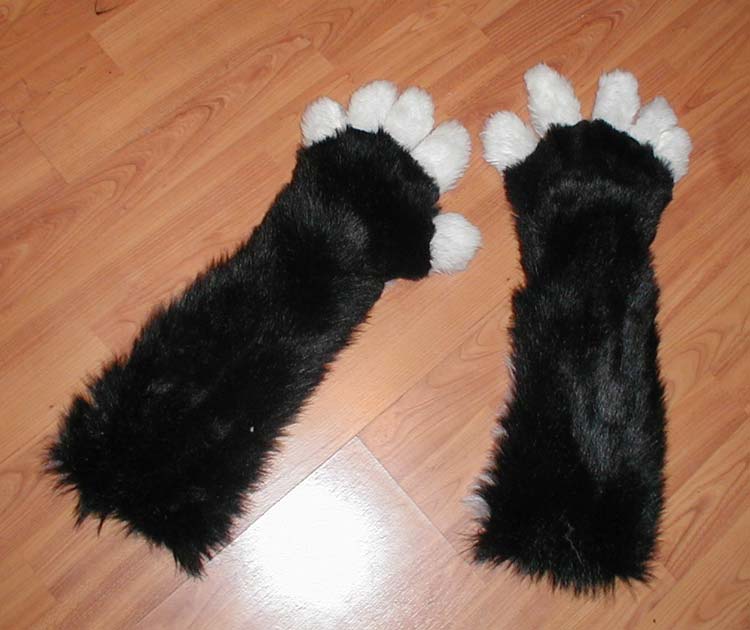
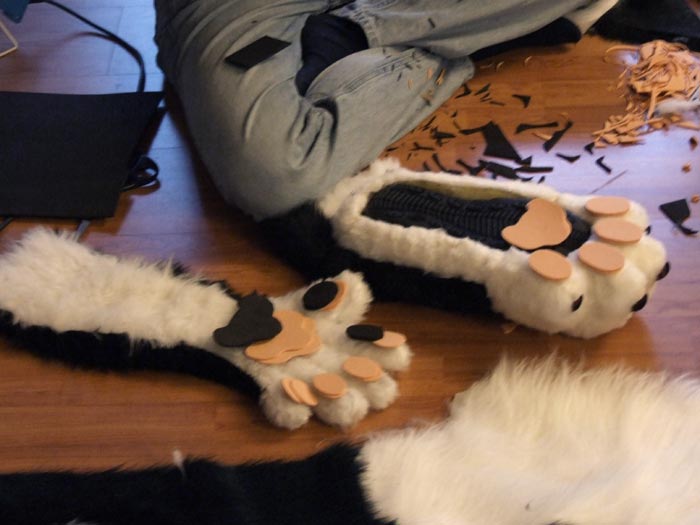
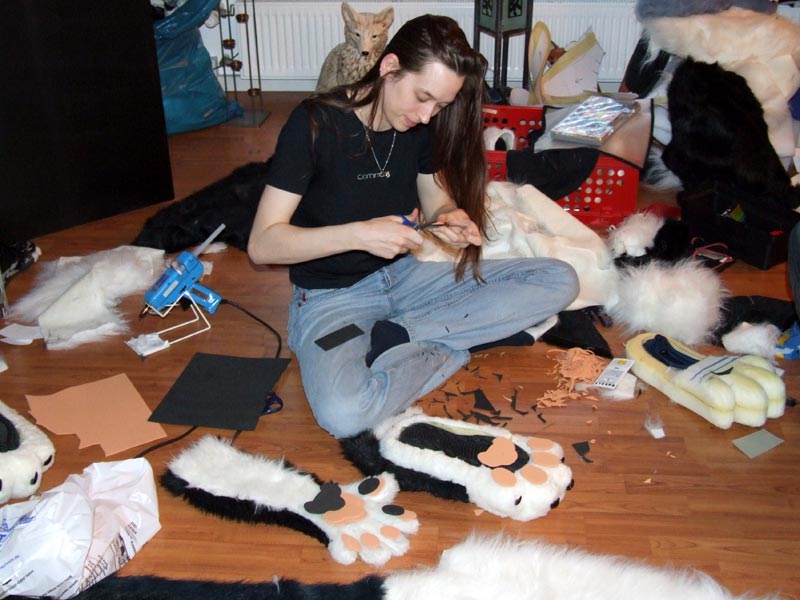
For the front paws I just traced my hands on the fur, cut it out, and sewed the parts together. For the paw pads I used pink foam rubber, which I first painted with latex milk, but the latex also came off during the time.
前爪我只是照著我的手裁剪毛毛布然後縫起來的。爪掌的部分我用的海綿橡膠。最初我用乳膠顔料塗色,但乳膠也會時不時的掉下來。
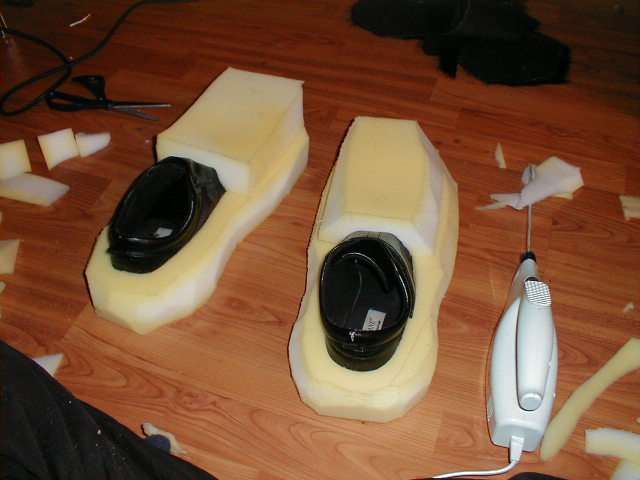
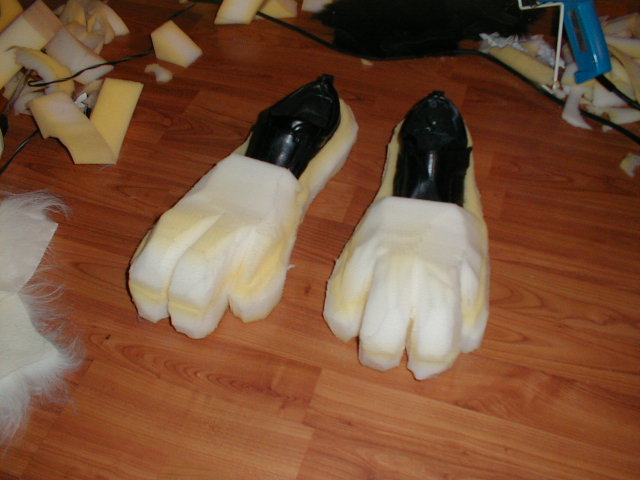
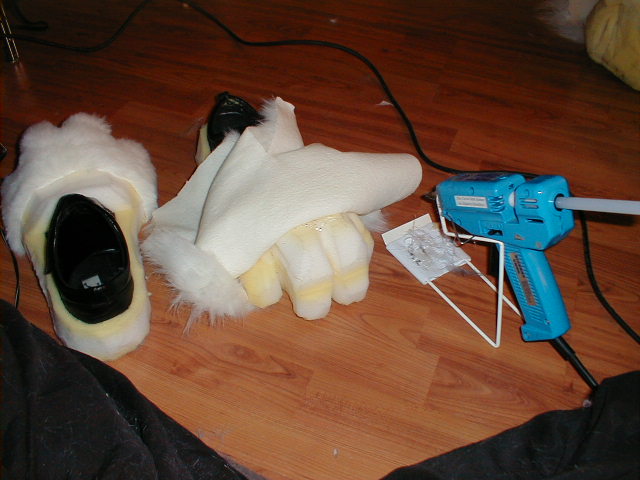
For the back paws I used normal shoes, glued foam blocks on them (hot glue), then cut out the forms (toes), and glued fur on them. These are outdoor shoes. The paw pads came off again pretty soon, as the foam rubber is not very resistent to damage when you walk around on the street with them. For the claws I used black FIMO.
後爪是我用普通鞋子用熱膠粘上海綿,剪出趾頭,然後粘上毛毛布做成的。這是室外用的。因爲海綿橡膠對破壞的防禦性能不太好,在街上走時爪掌很快會掉下來。爪尖我用黑色的FIMO陶泥。
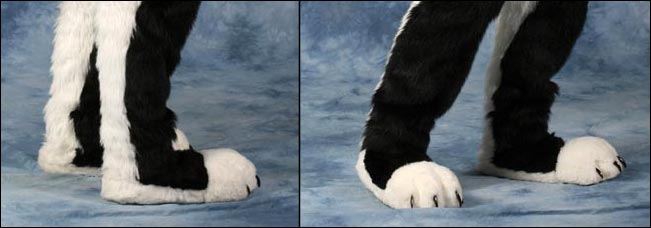
I have a second pair of paws for indoor, made by WhiteyFawks (Arend Studios). These also have fur and paw pads on the soles.
我有用於室内的第二雙爪子,這是由Arend Studios的WhiteyFawks 製作的。鞋底上也有掌和毛。










 回覆時引用此篇文章


